

Elder Flowers
6 - 10 June: 1st Microseason of Rising Summer

Hello and thanks for reading my newsletter about marking microseasons in the pages of my sketchbook.

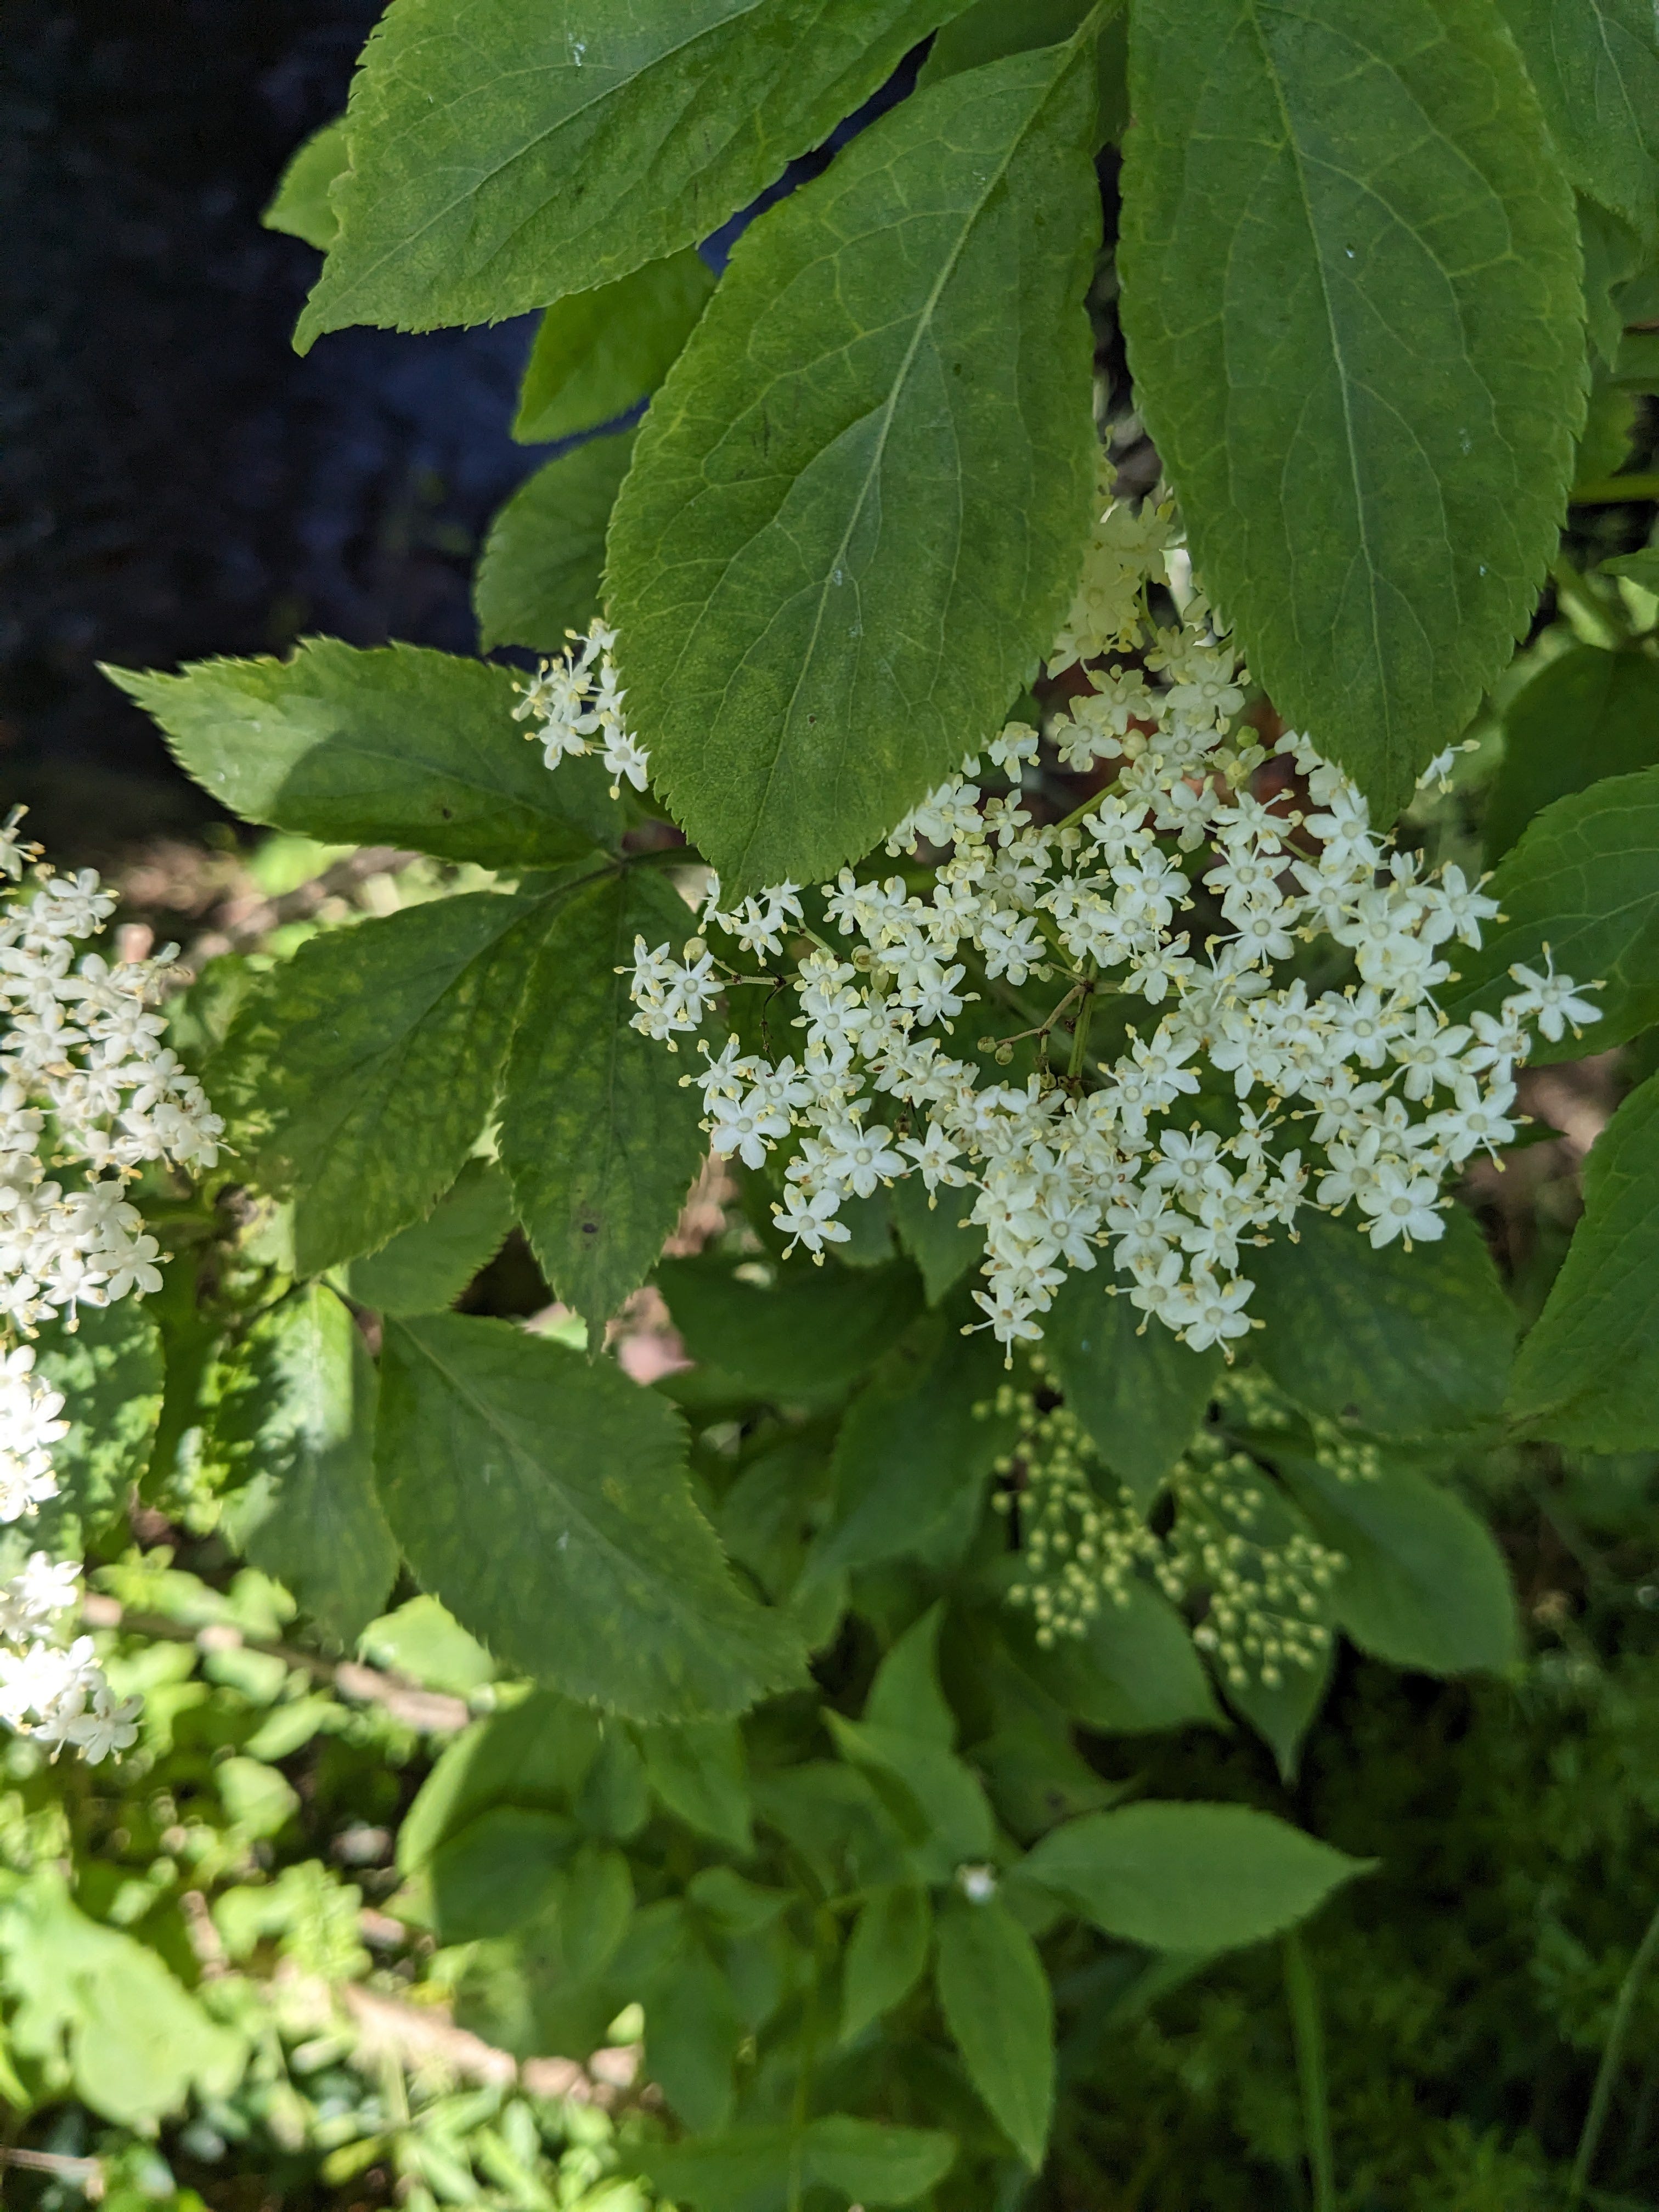
I’ve dedicated this microseason to the Elder, the most recent tree I’ve learned to recognize, as it is flowering at the moment. It’s a bit embarrassing, though, as we have a Black Elder tree in our garden, which we have mistaken for years as an Alder!
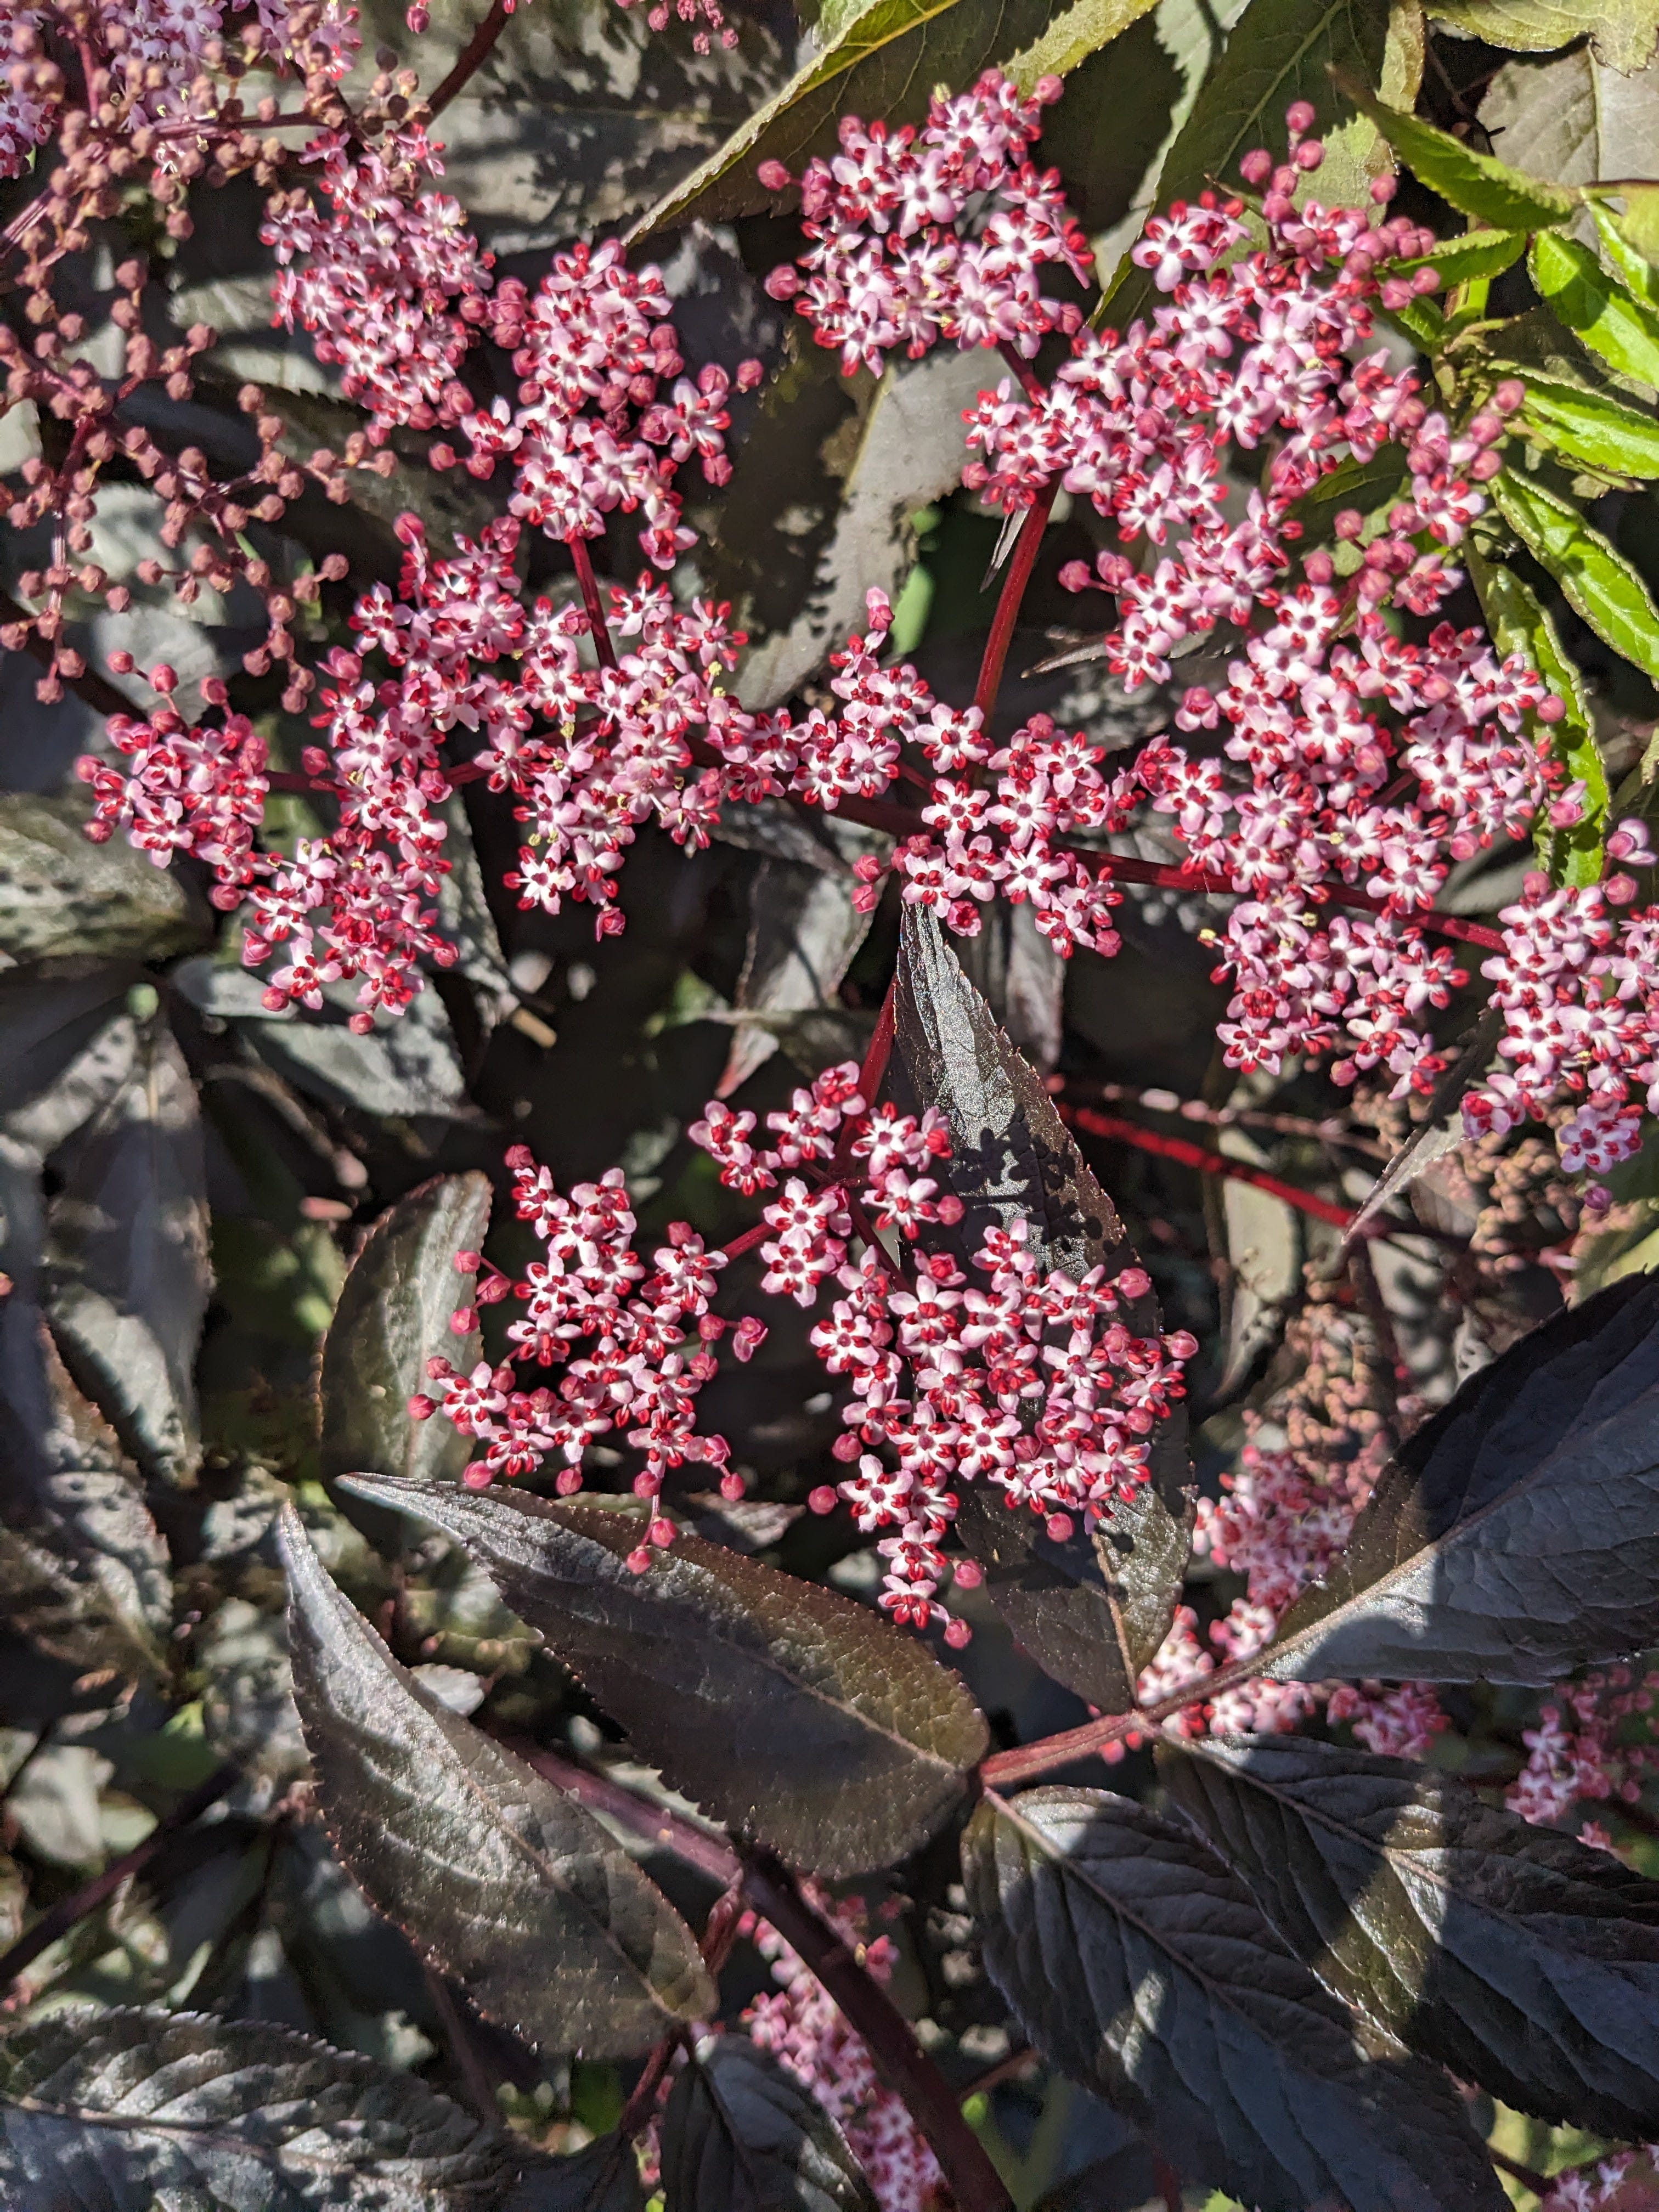
Elder, or Elderberry, I’ve learned, is a popular tree for plant-dyeing, because of the brilliant colours it creates. However these colours, particularly those drawn from the berries, are prone to fading.
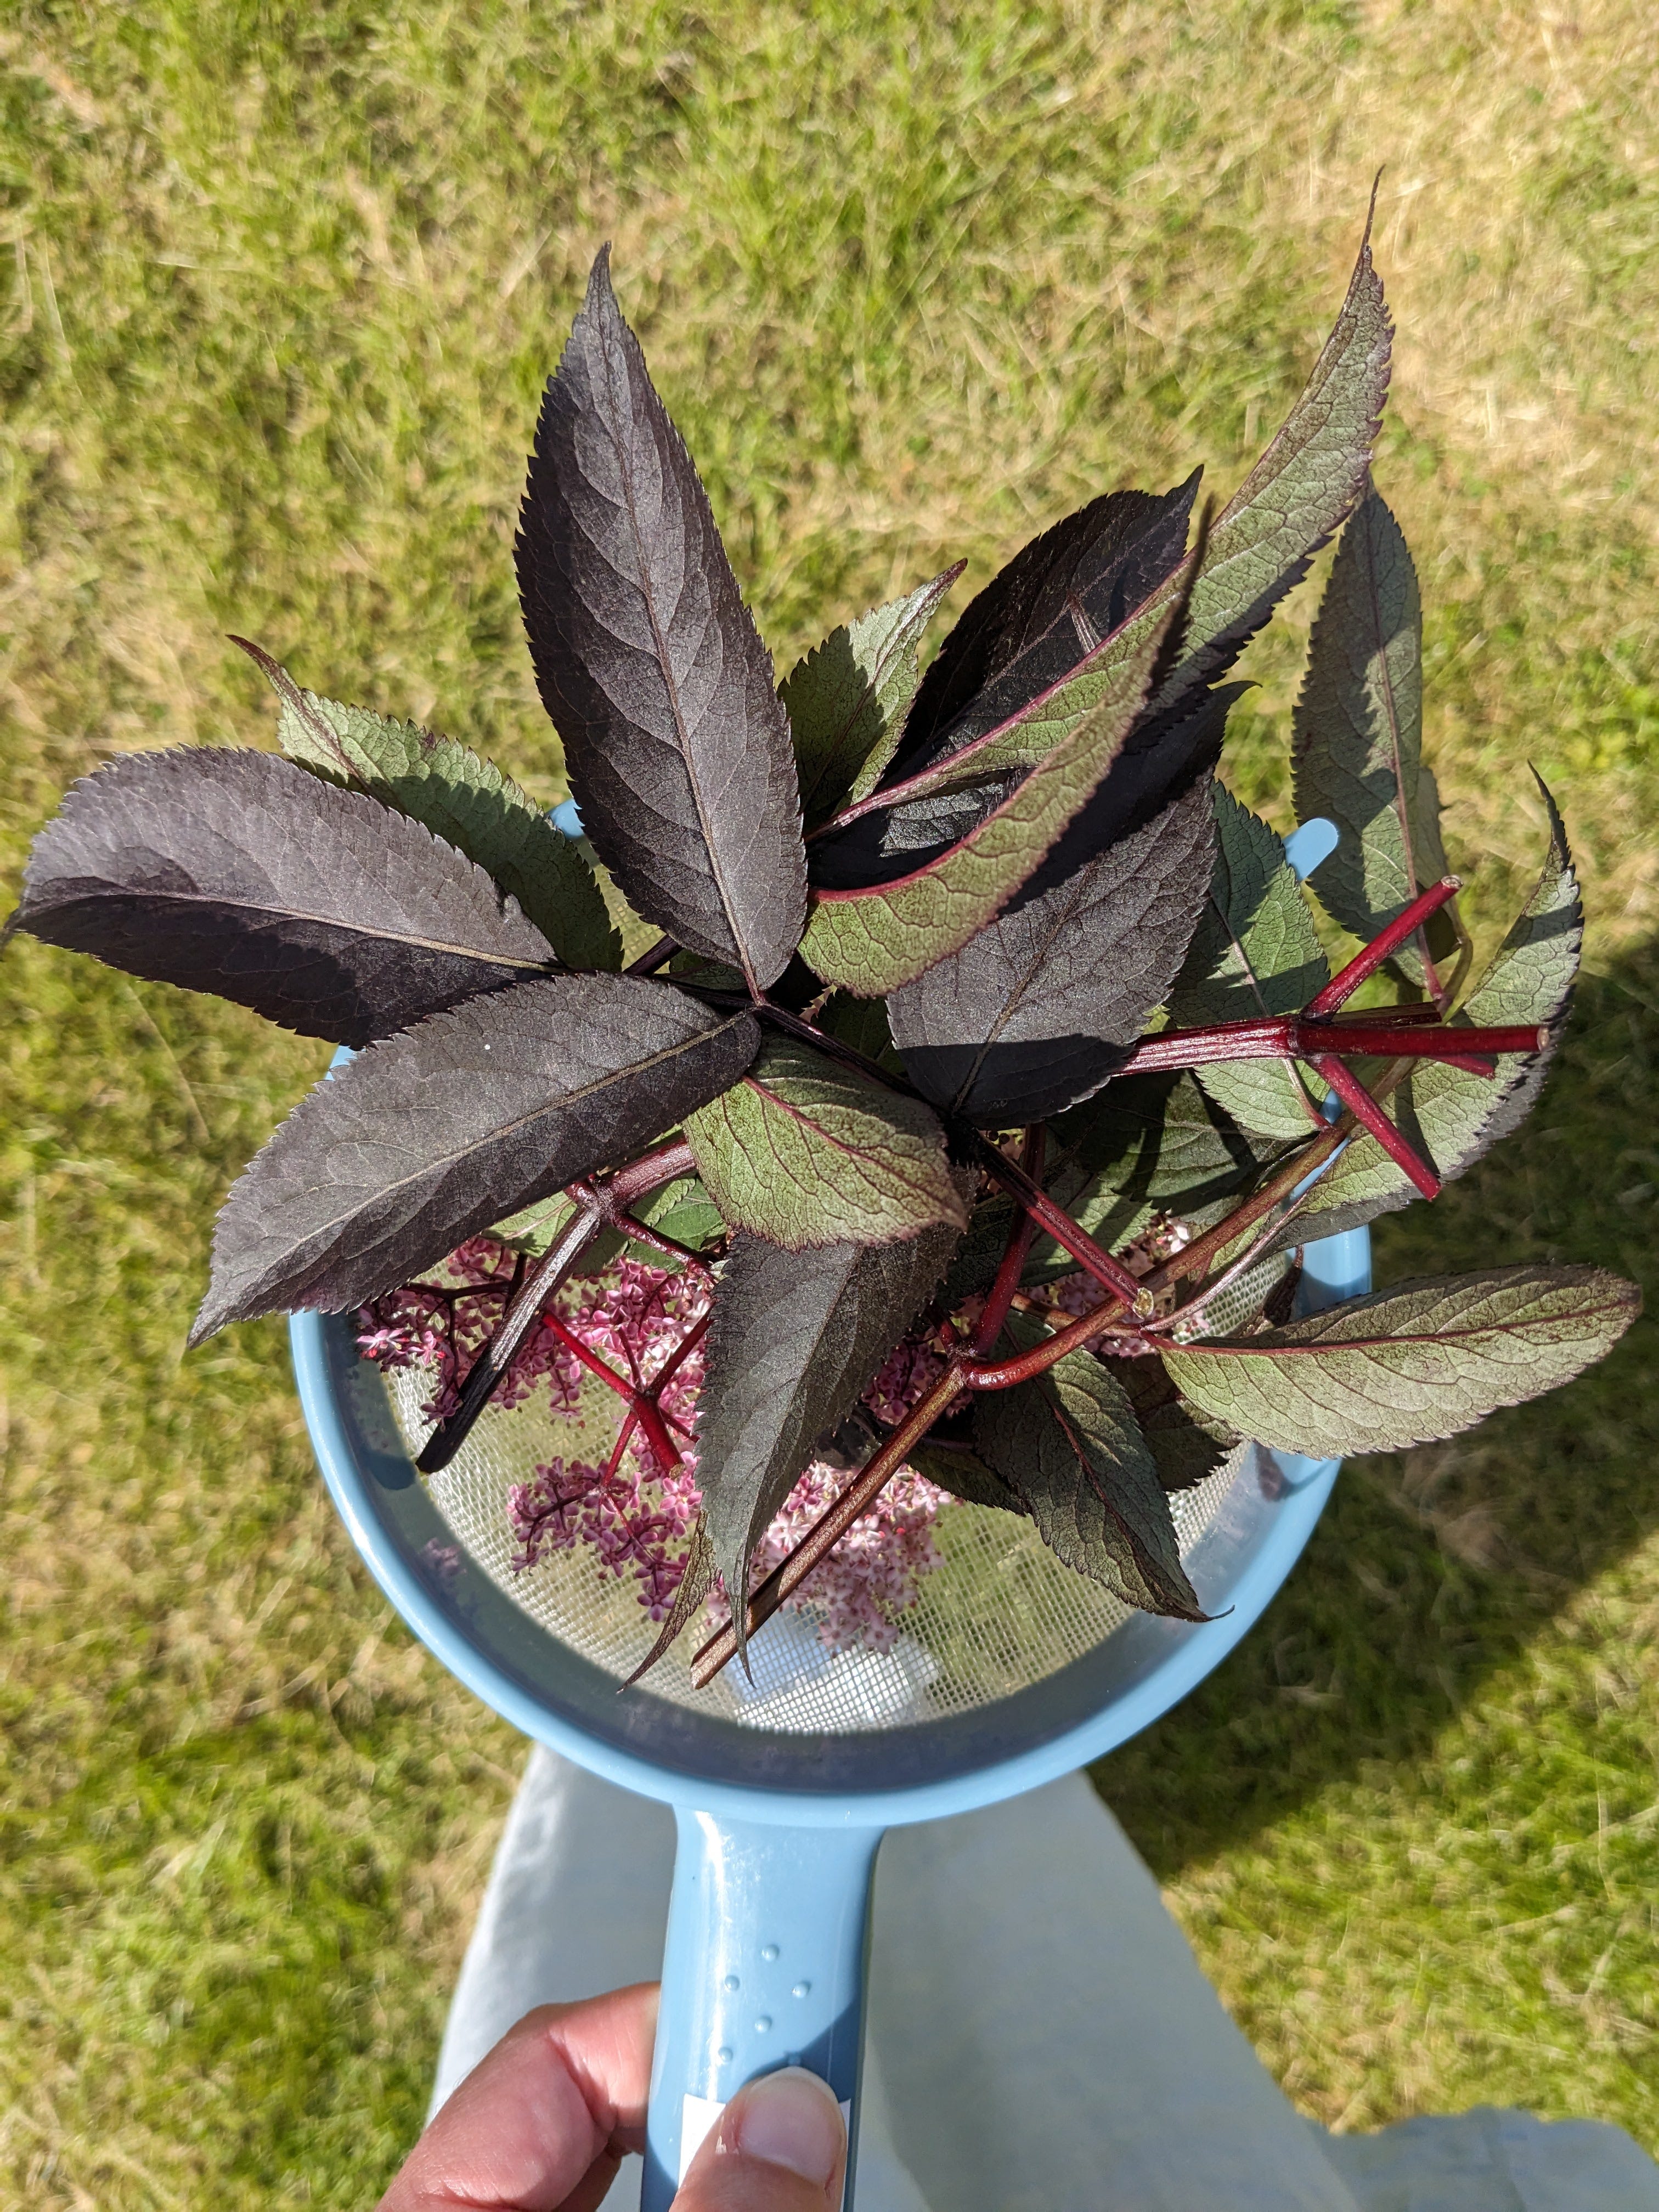
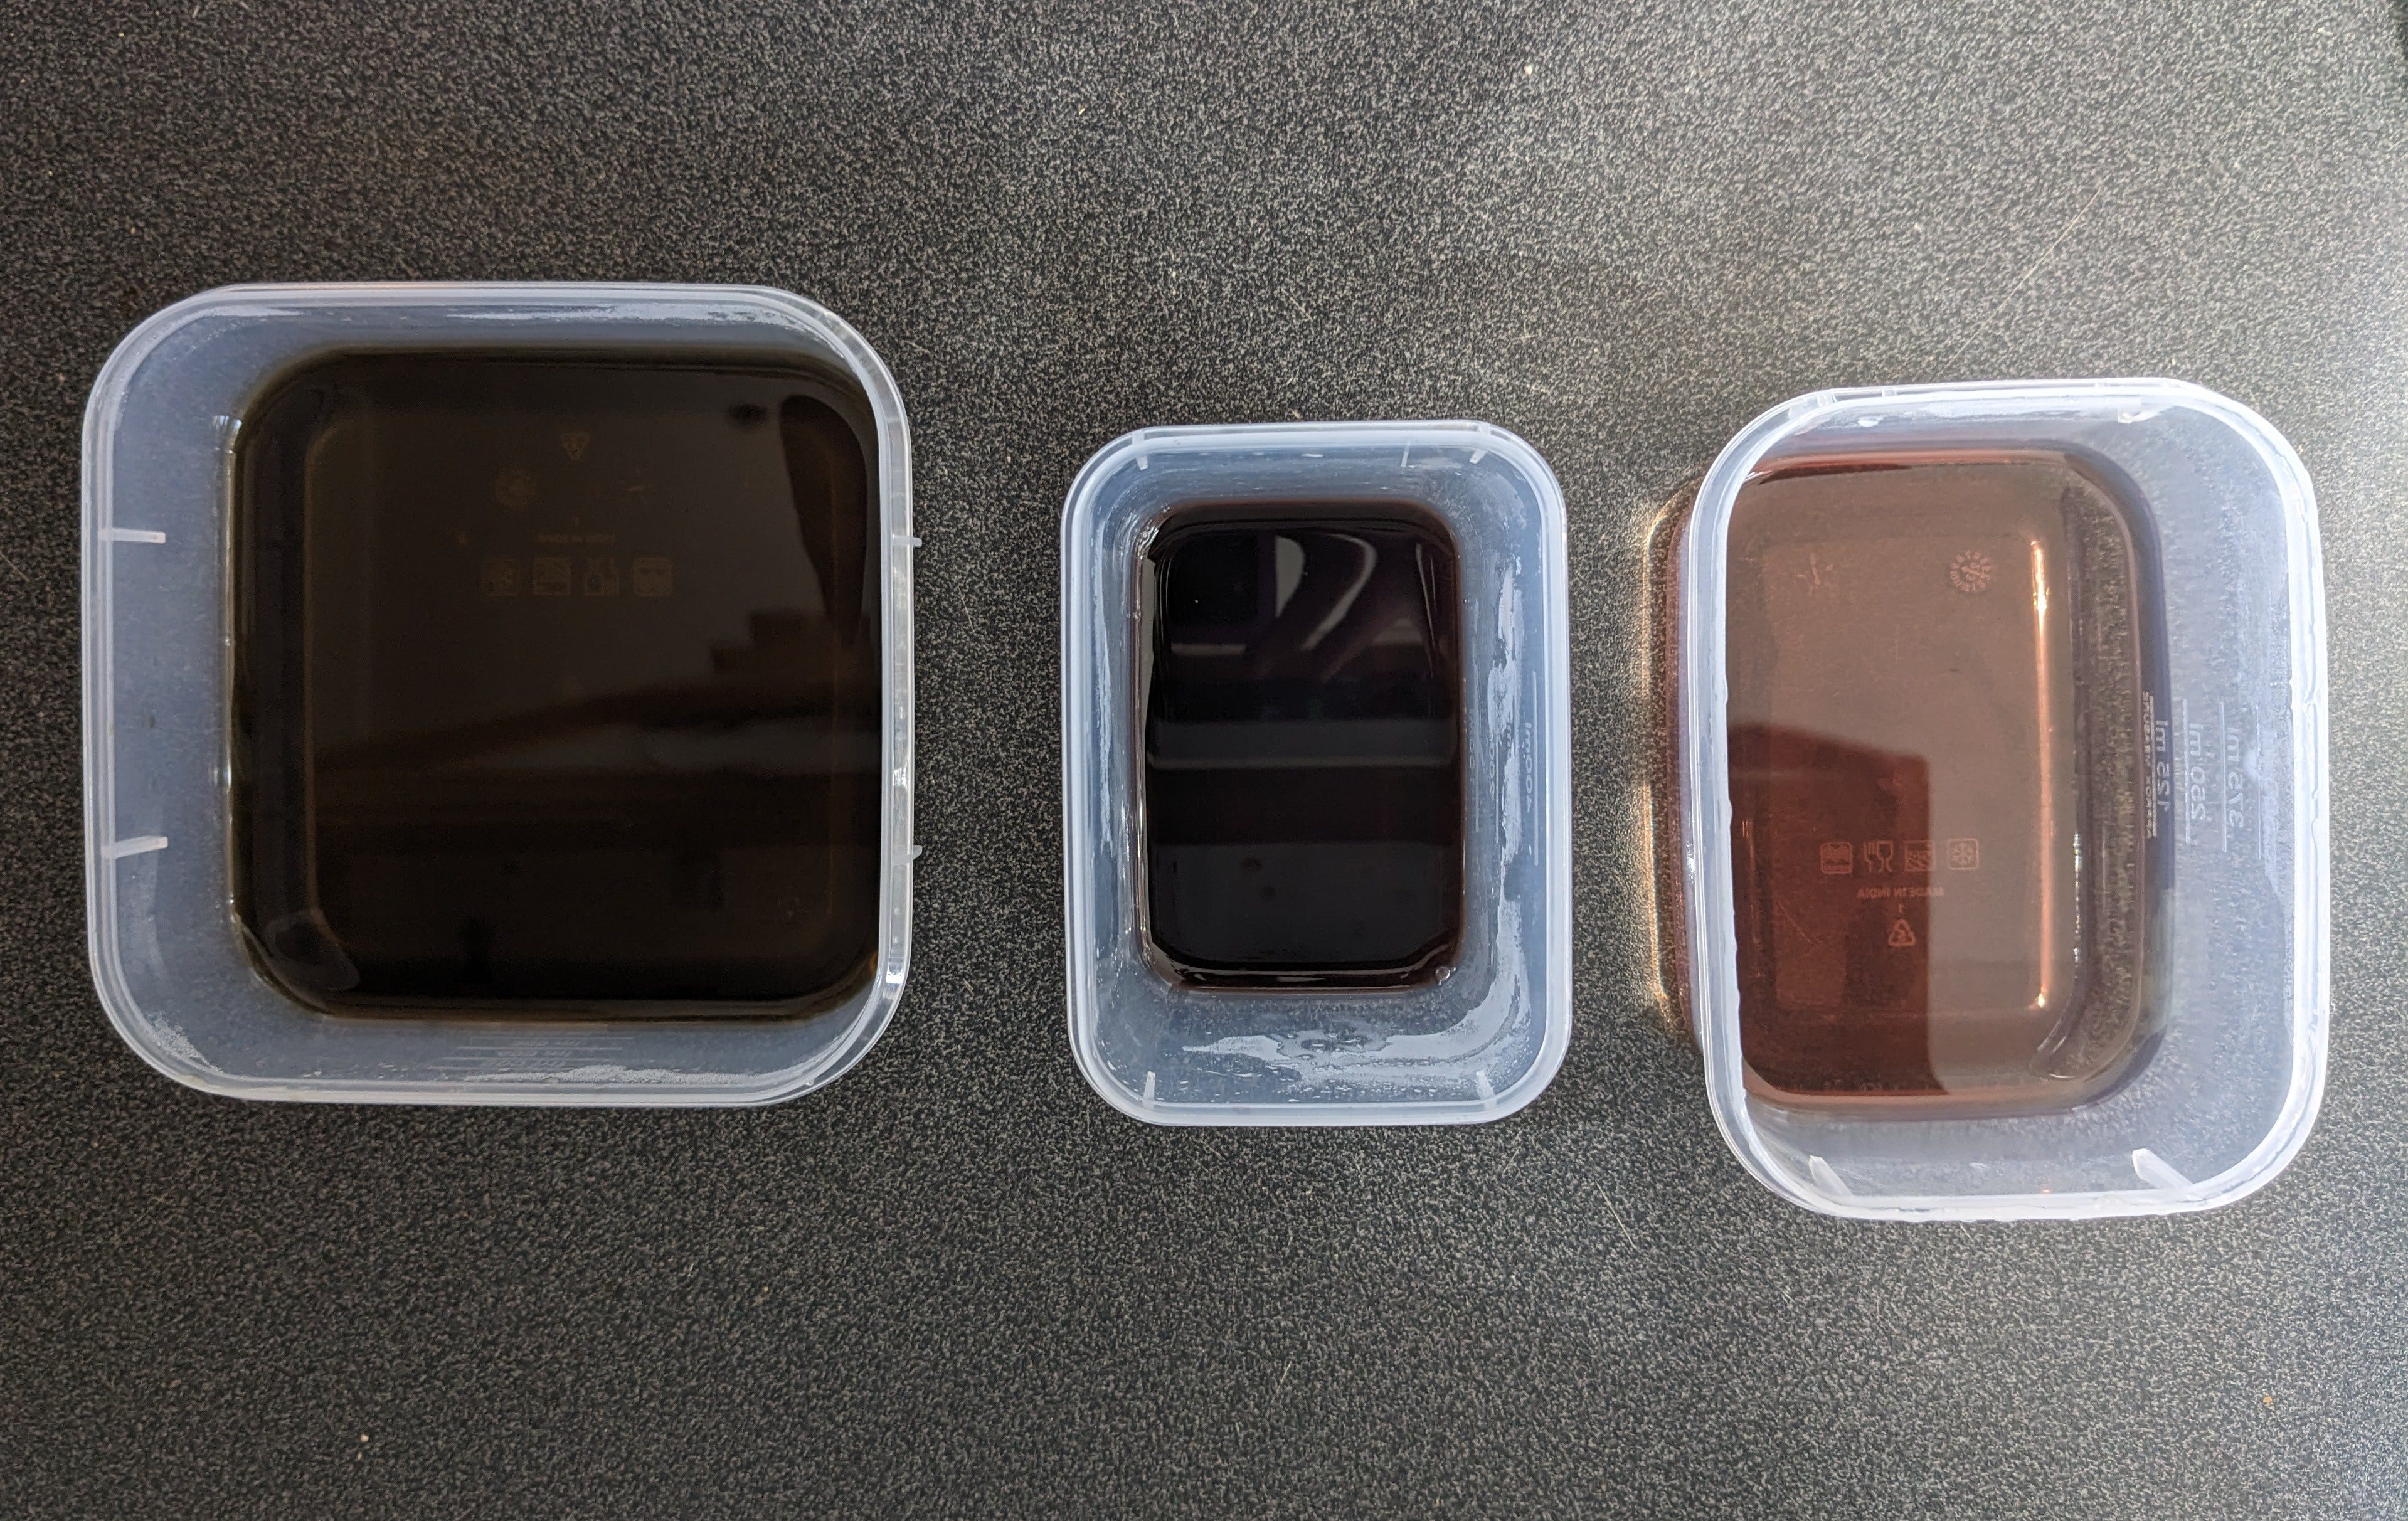
This week, I experimented with making dyes of Elder, Black Elder, bark and flowers, which I’ll tuck into my sketchbook to keep their colour. I thought I’d share a bit of my process and results:
Step 1: Collect Leaves, Bark, Flowers, etc. (aka your dyestuff)
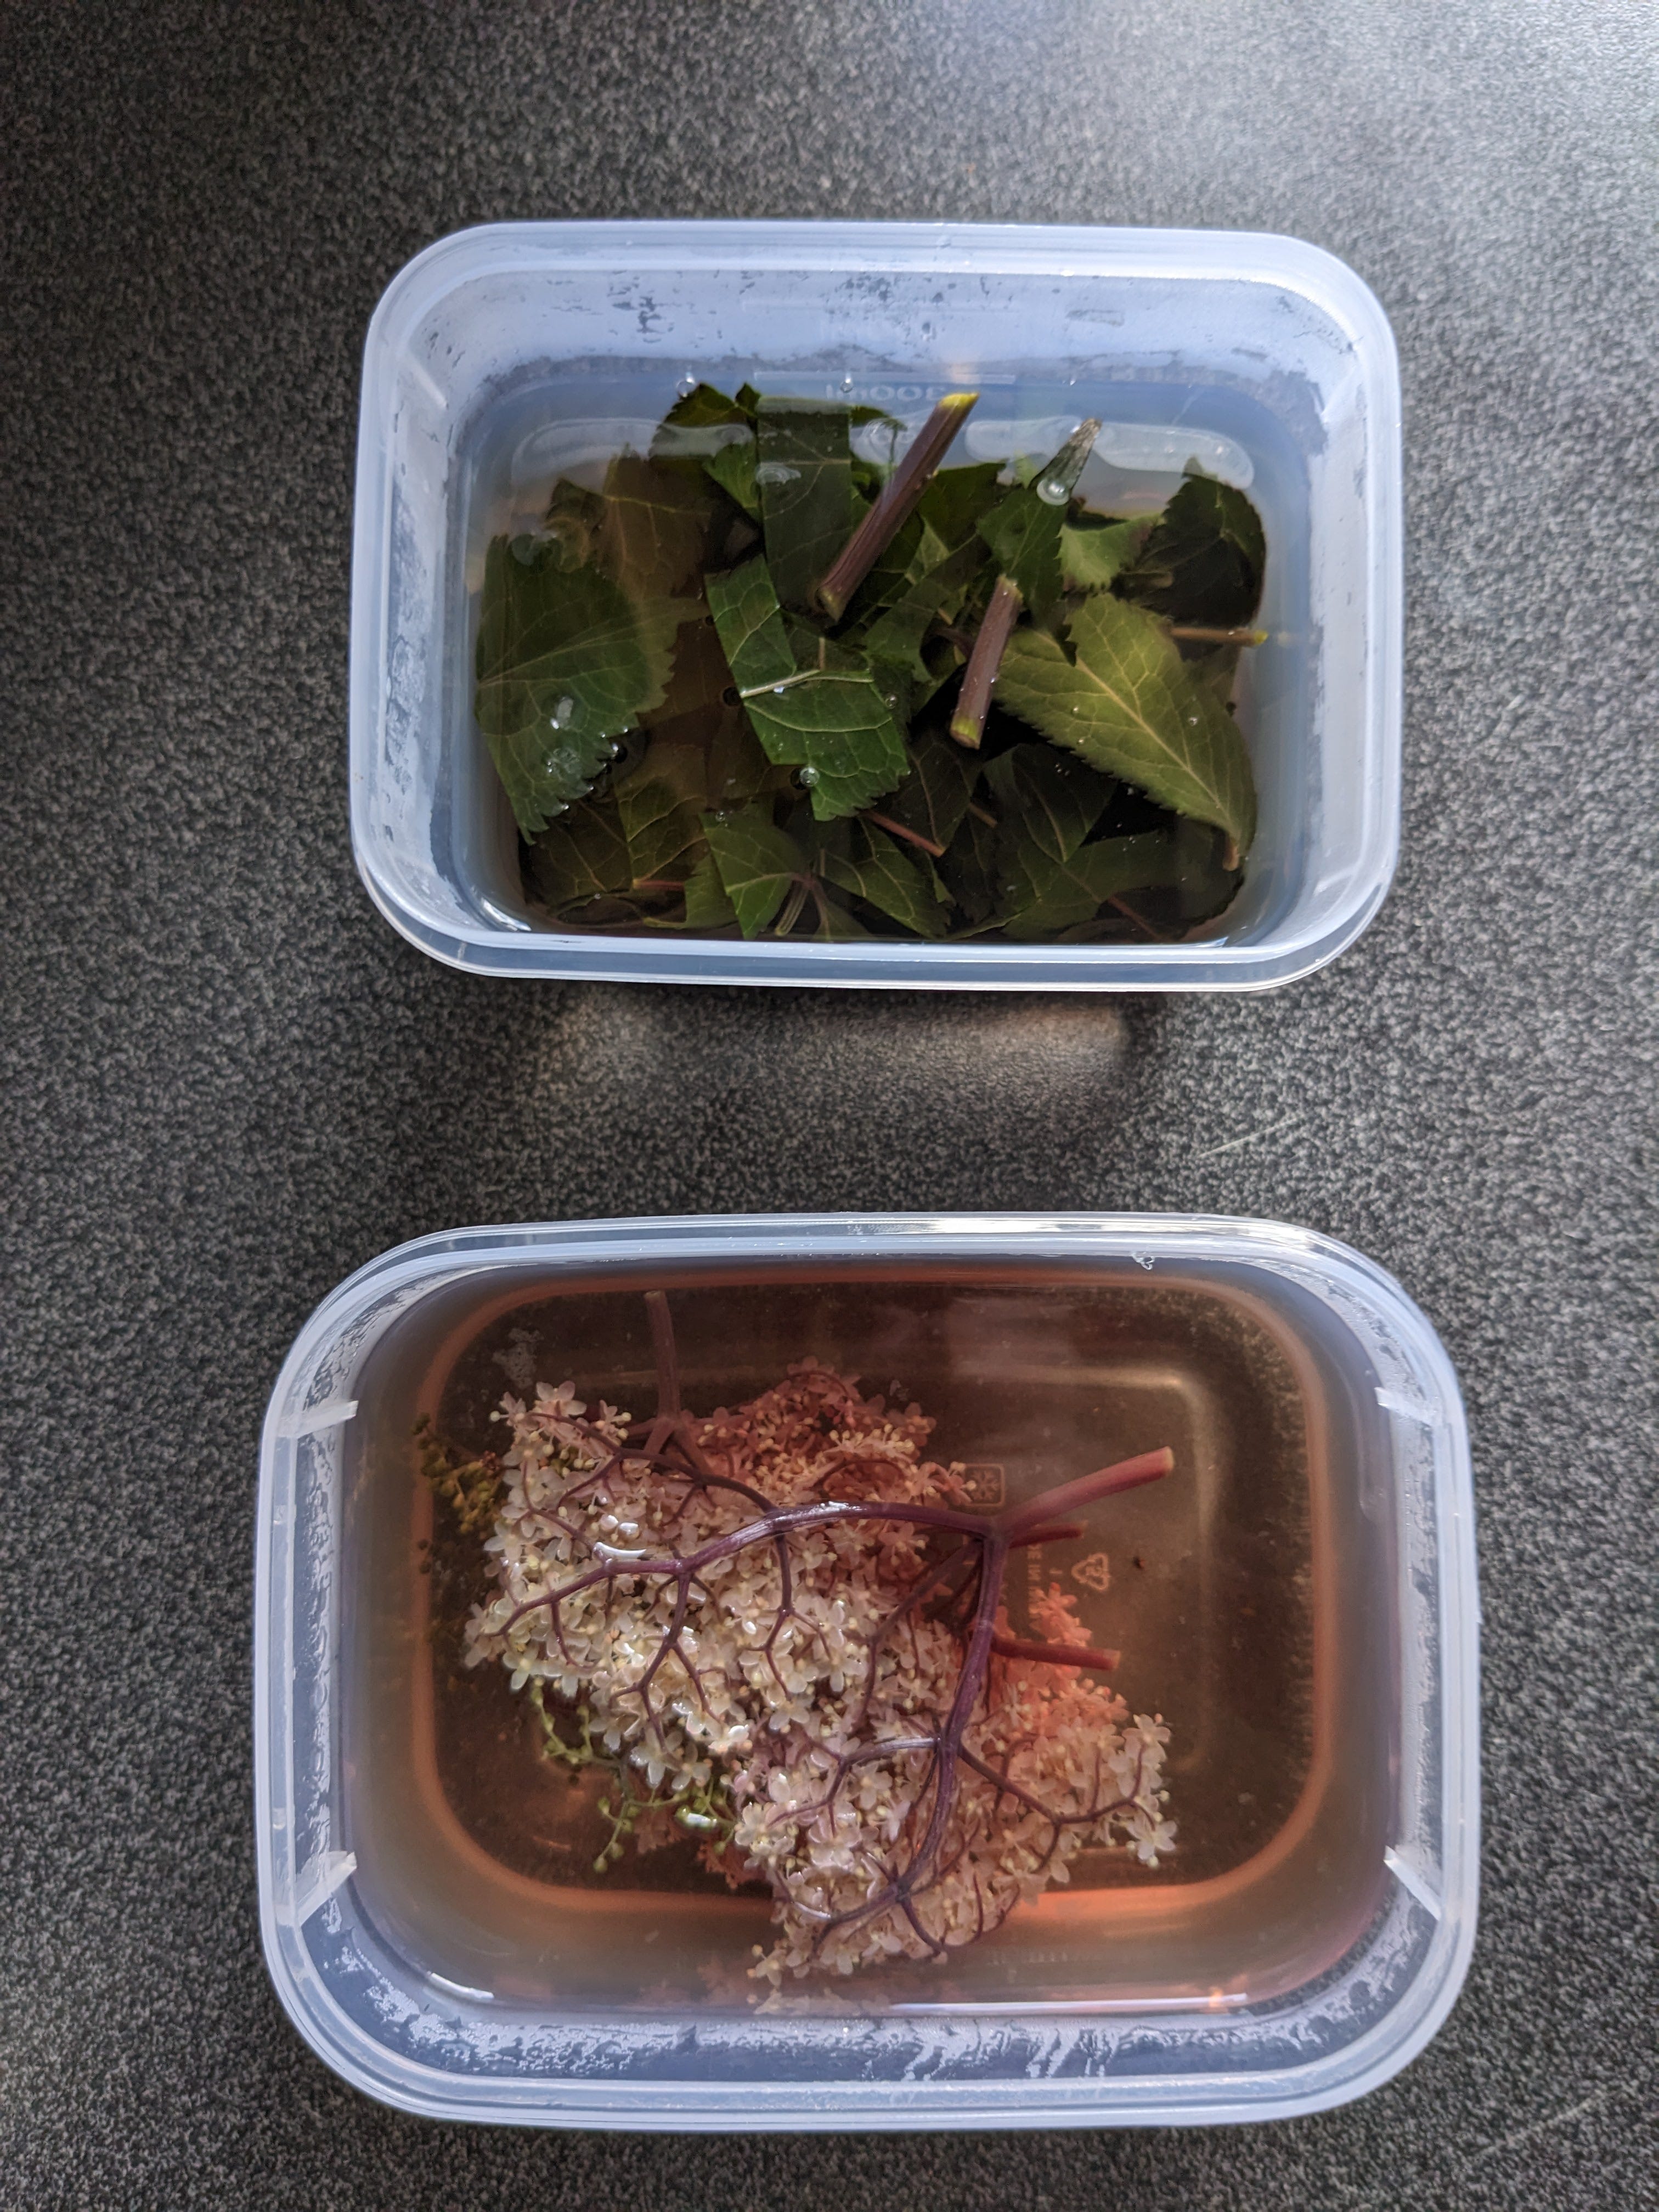
Step 2: Steep the dyestuff overnight
Step 3: Simmer for an hour and let cool (I did this overnight again); then strain off the dyestuff. *Meanwhile, I pre-soaked the yarn.
Step 4: Simmer with yarn for an hour, then leave to soak overnight.
Step 5: Observe the results!
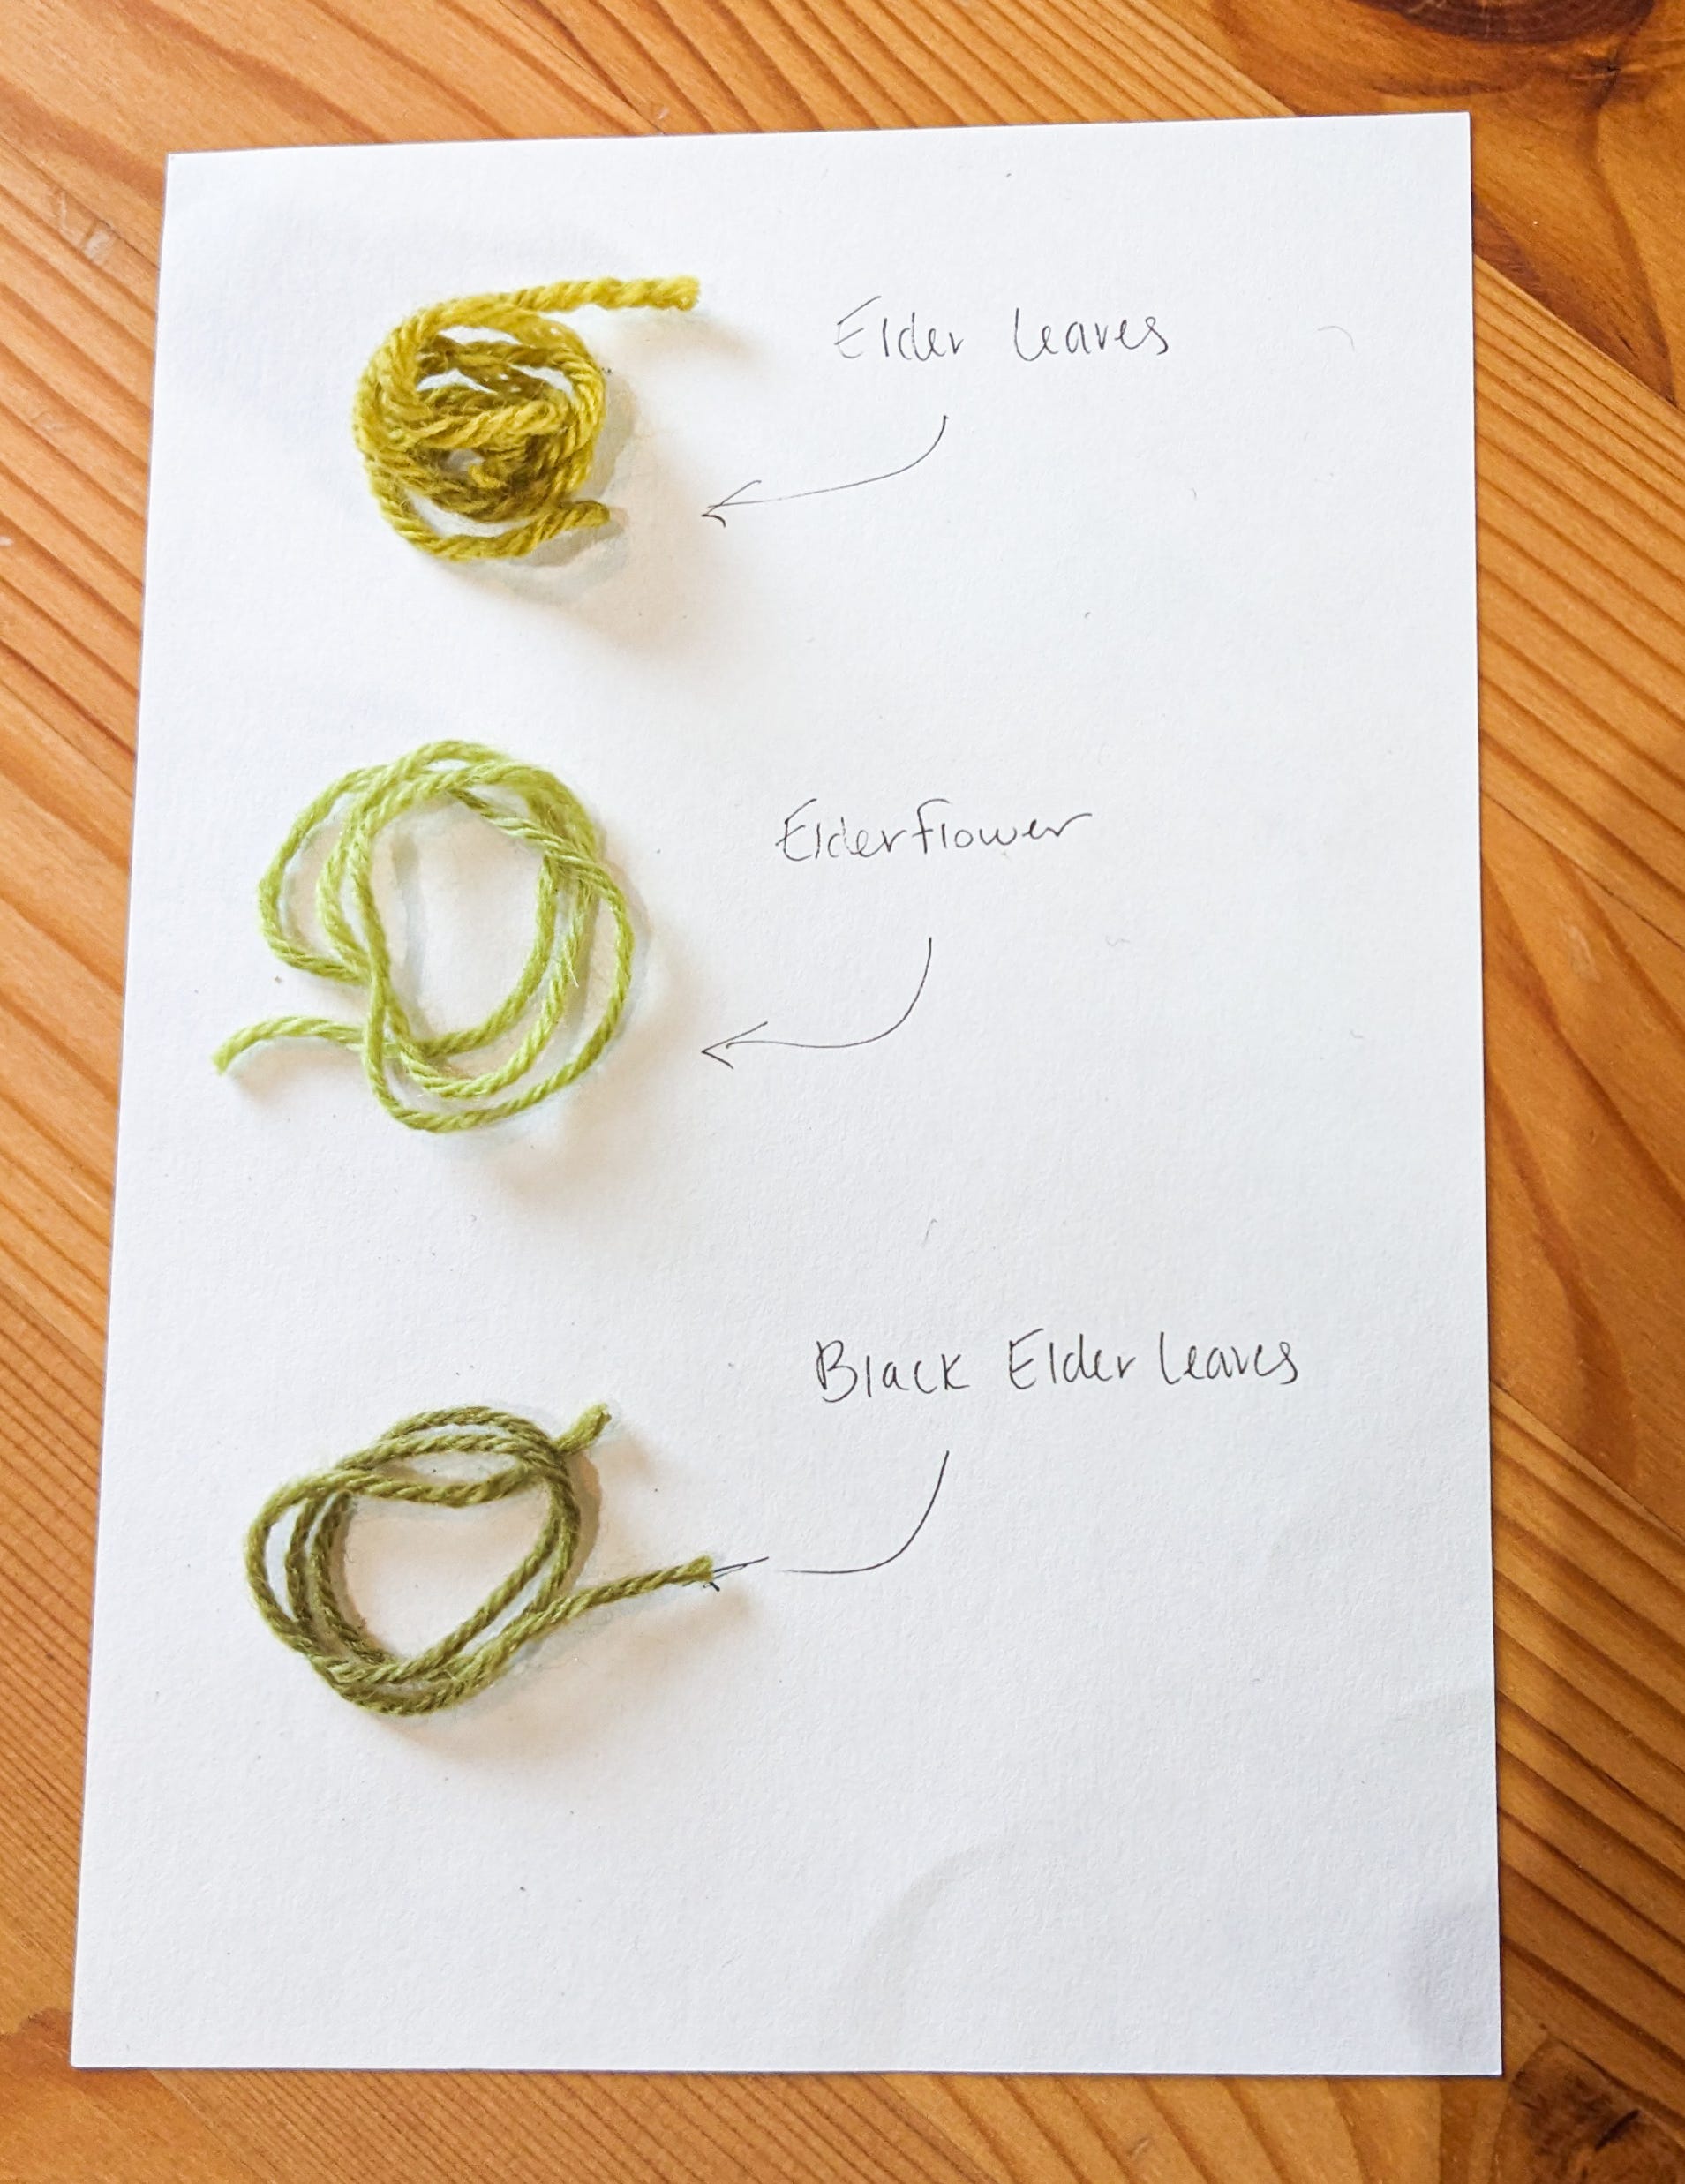
I was really impressed with the dye colours created. Visually, there are a big difference between the Elder leaves, Black Elder leaves, and the Elderflower. I’m planning to add a binder to these this week to create some natural inks.
When it came to dyeing the yarn, the difference resulted only in different hues of green.
The next step is to try out the bark, as this has to soak for a week. This might result in some pink and purple hues!
Sketchbook Notes:
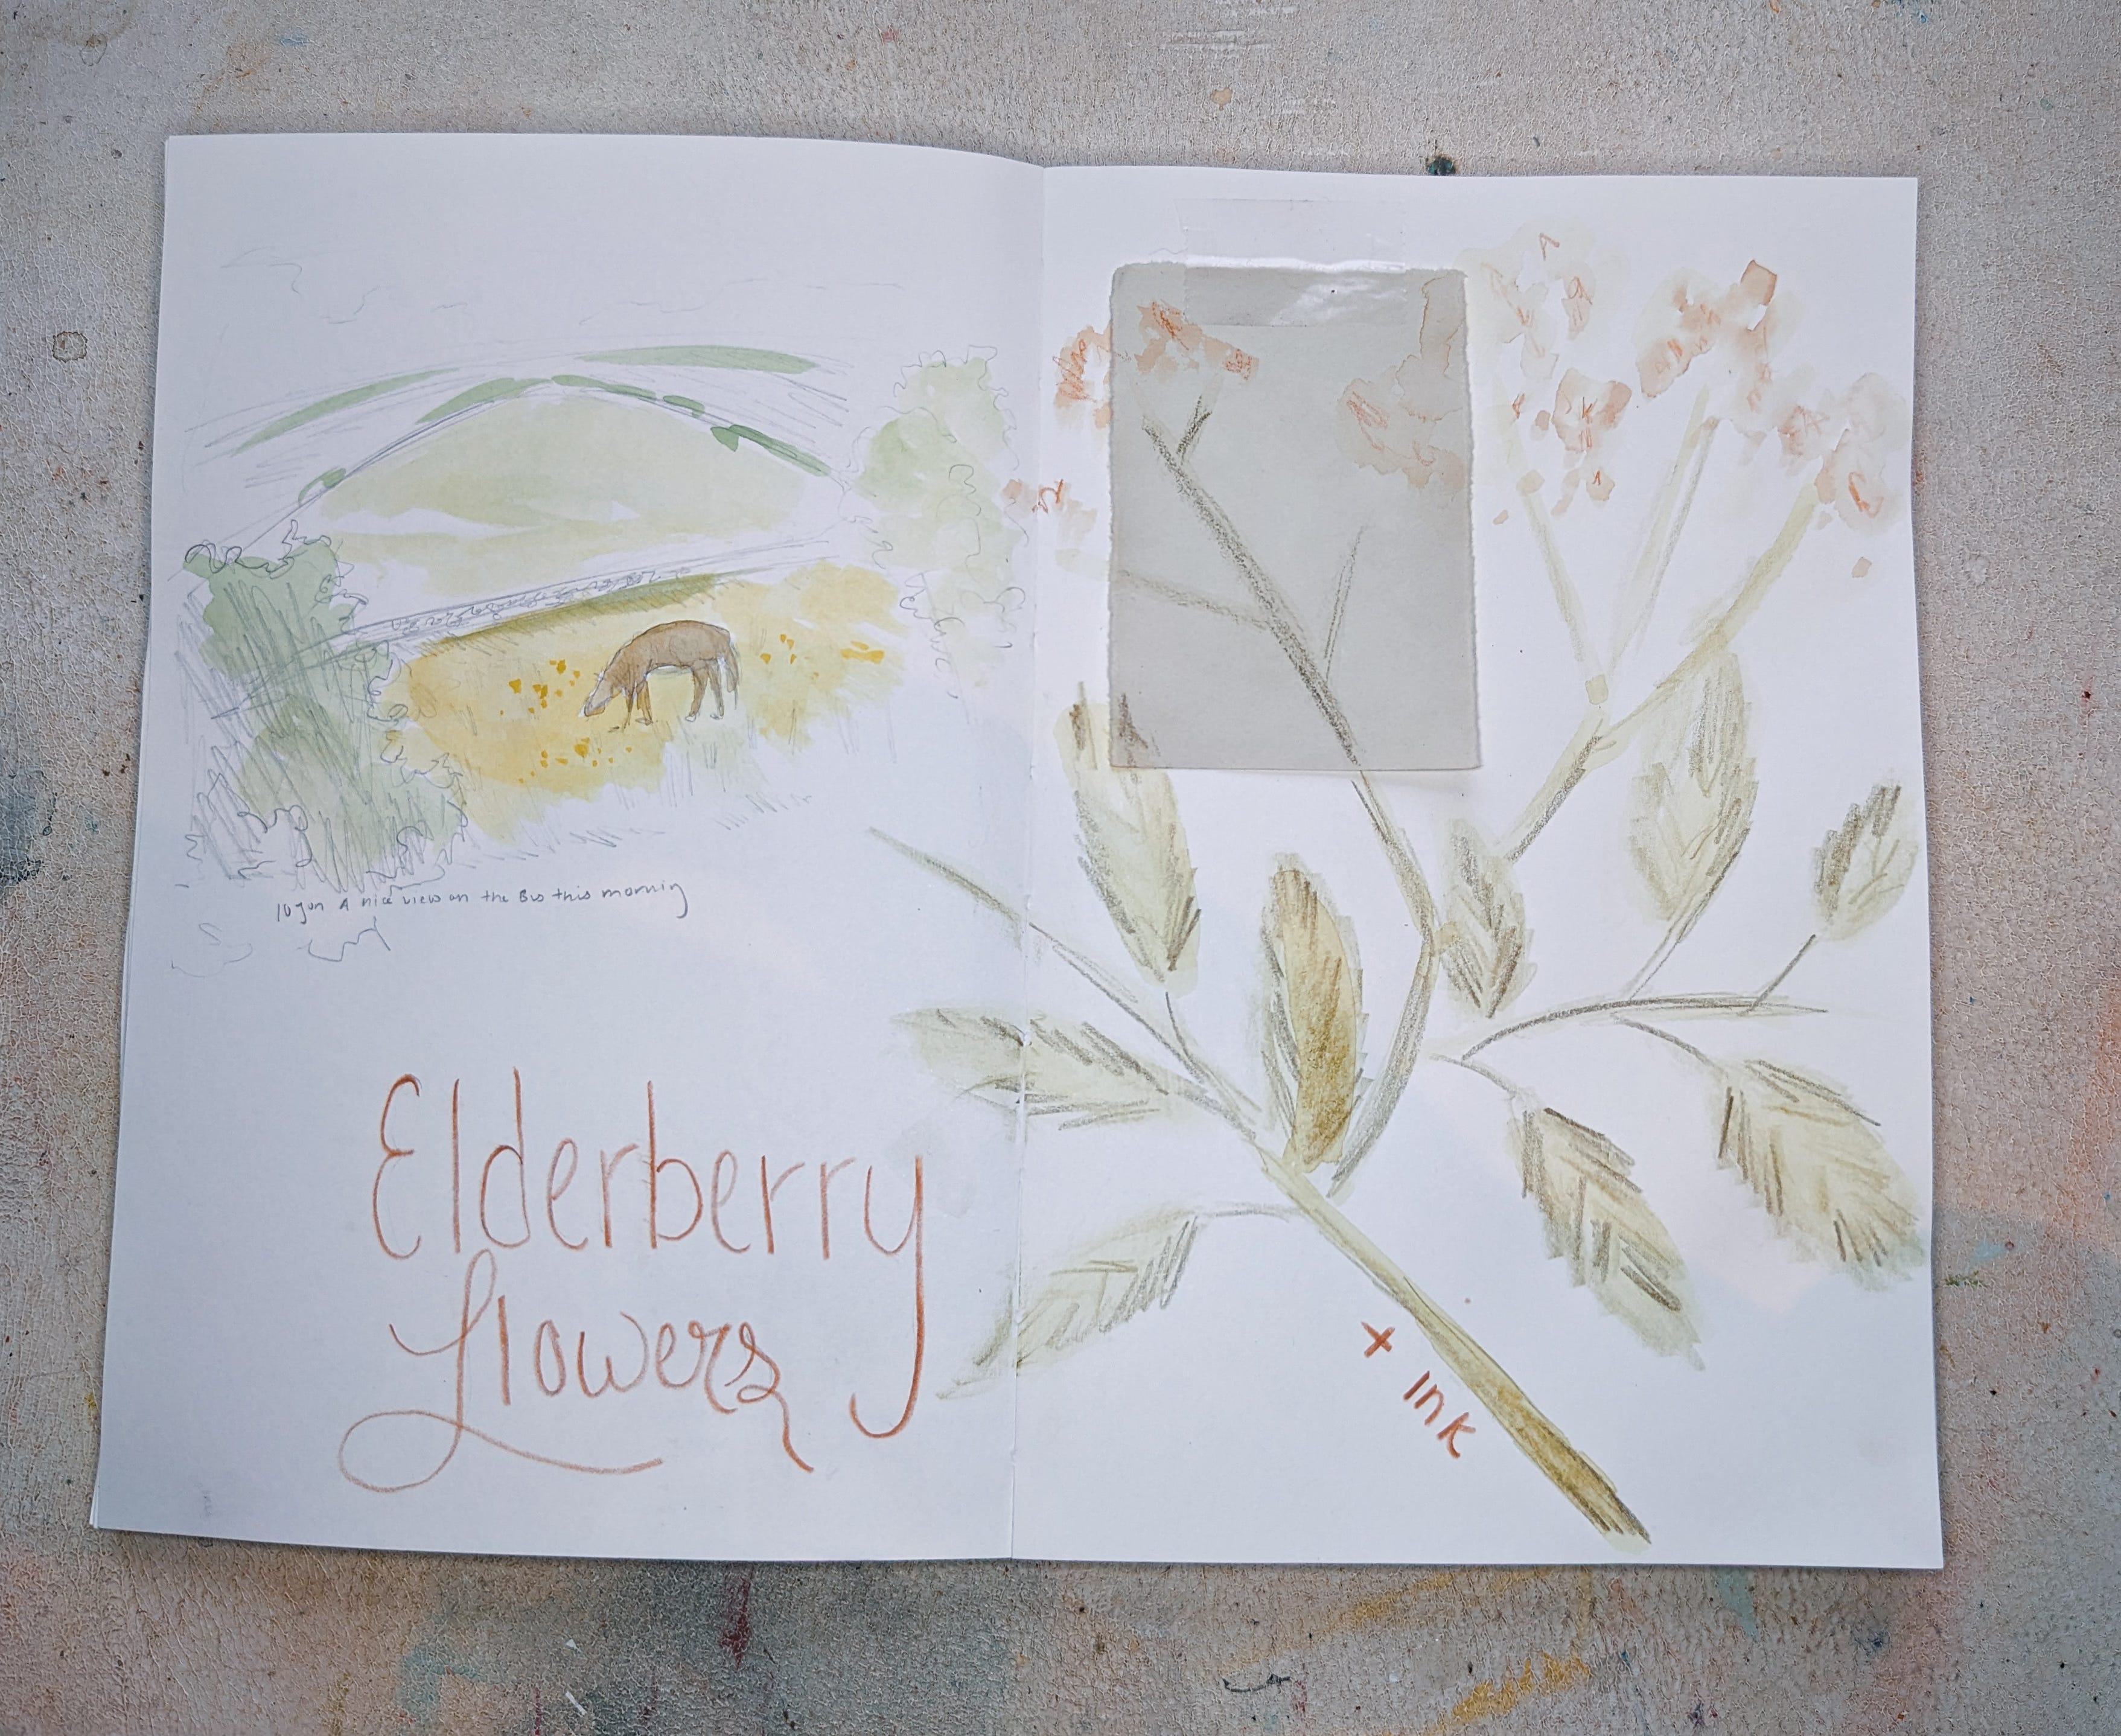
Here is a page from my sketchbook, made partially with elder dye, detailed with a few pencils from the Derwent Drawing Range - my new favourites!
Until next Microseason,
Natalie